How to make Concrete Planters
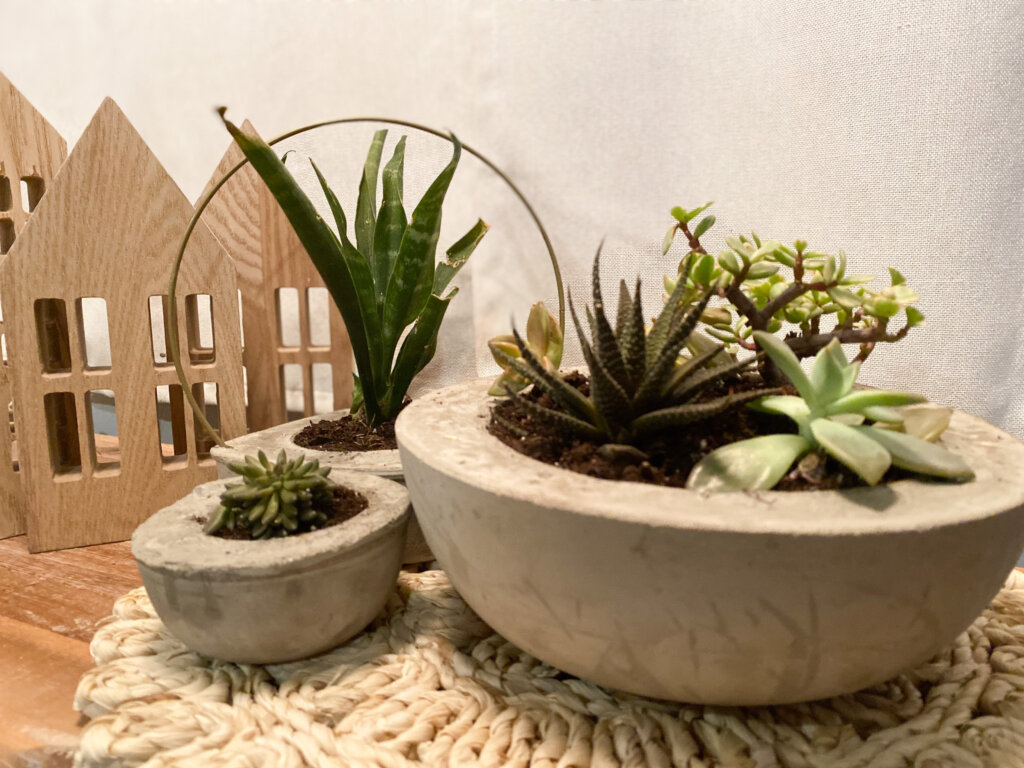
Plants of all shapes and sizes have my heart, and a girl can never have too many succulents…right?
I love finding new fun planters and love the look and style of concrete so we decided to make our own concrete planters. Super simple and one bag of Quikrete can make a TON of medium and small pots. They were so fun to make we found ourselves still making them even after we had made the first three.
When it comes to creating concrete planters the possibilities are truly endless. We used various sizes of Tupperware, old water bottles, and anything that had an interesting shape.
Anywho, enough about my love of concrete planters and more on how to create your own throughout the year!
Supplies:
-1 bag of Fast Setting Quikrete, we got a 50 lb bag and it was plenty
-Water
-Cooking Spray
-Various Tupperware and shapes, these are what we used and they were $4 dollars.
-Metal decorative wreath rings, like these
-Gloves
-Sandpaper
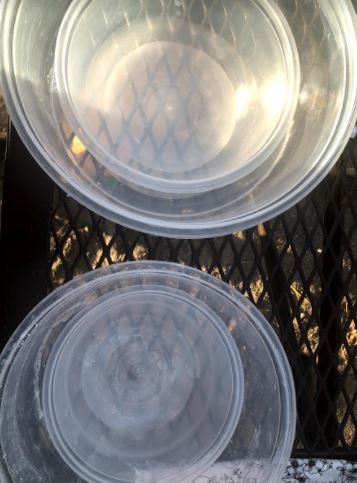
Step 1:
Figure out how you want your planters to look. You will need one larger Tupperware and one that is significantly smaller to create the shape for your plants.
Also, if you want any decorative hoops in your design, you need to make sure you plan accordingly.
Step 2:
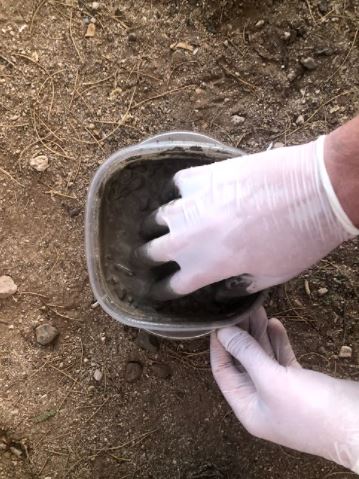
After you have figured out the sizes and shapes of your planters, it is time to mix the Quikrete.
We originally started this project with a large bucket, drill, and mixer and it didn’t work the best for us. The Quikrete hardened before we could even get it into our molds.
We found the best way to make concrete pots is to take the larger pot, mix the concrete in it, then add the smaller pot and push down and hold to create a mold.
The package tells you specific directions for the entire bag of concrete, since we did one pot at a time we decided to just eyeball the consistency. Overall, you want the consistency to be right in between runny and chunky, creating a consistency that is easily molded.
Step 3:
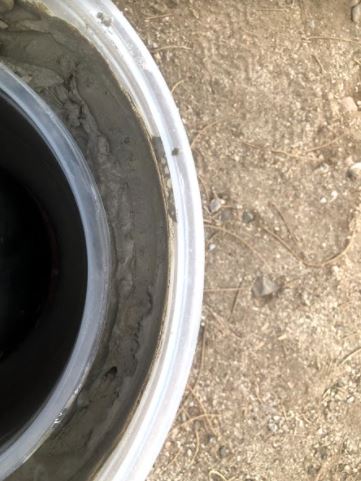
Once you have mixed the concrete in the desired container, it is time to create your planter.
Grab the smaller container you planned to use as well as any metal hoops you want to include.
The hoop will need to placed first, push it down into the concrete, and hold in place. Next, add the smaller Tupperware into the concrete mixture and push down and hold.
It is crucial to hold the smaller Tupperware in place for a minute or so, or else it will just rise out of the concrete and not create the shape you need.
Step 4:
Quikrete will set in 20 minutes and can be taken from its mold. For complete hardness, it is recommended on the package to wait 4 hours.
You can touch the top of your planter to see if the concrete is still wet or not. Leave it alone and when you come back you will be ready to take the mold apart.
Step 5:
Since you used cooking spray, the small and large Tupperware should come off and be able to be used again. You may have to squeeze the larger container slightly to release the shape from the mold.
Step 6:
Use sandpaper or a Dremel to sand off any raw edges after you have left your pot to harden.
Also, after your plant is hardened, you can drill a drainage hole to make your planters pretty AND functional.
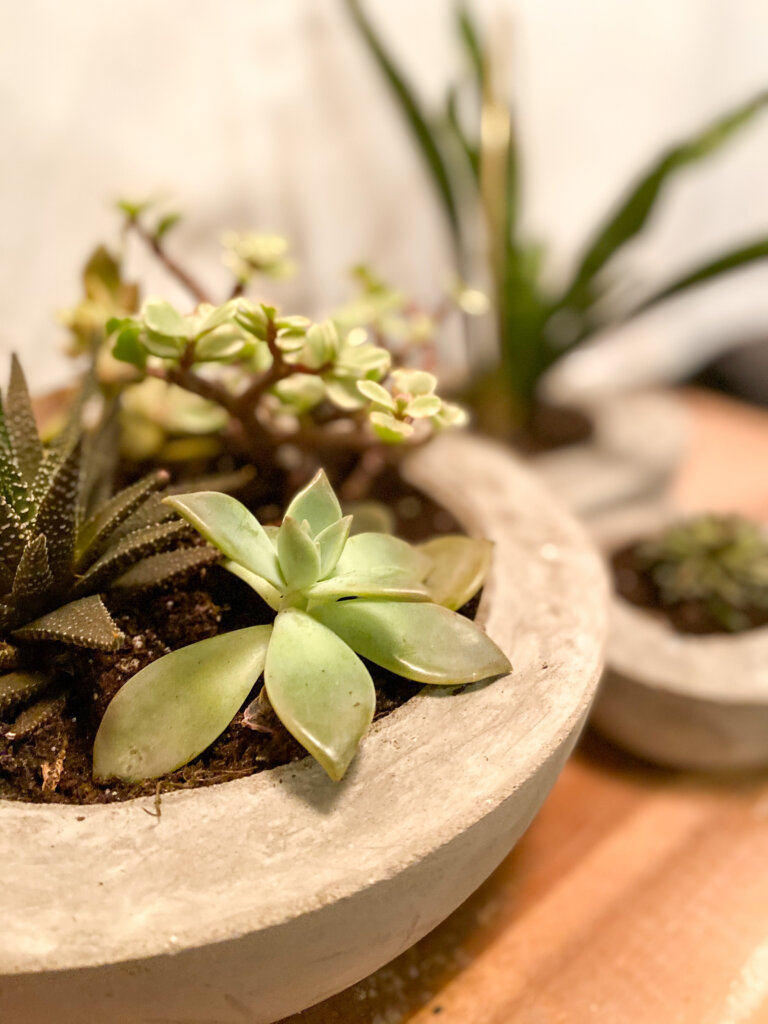
Concrete planters are beautiful and add a perfect amount of style to your yard.
You can create concrete planters of all shapes and sizes to fit your space, plus creating more planters simply means you need to buy more plants. ?
Happy DIYing friends!
Explore more here
With Joy,
Paige
