Dollar Tree Centerpiece & Fabric Pumpkins
Fall is near which means cool weather, flannels, campfires, the best smelling candles…happy dance commence. Fall is hands down, with no hesitation, my all time FAVORITE season. I love it. I love the smell of candles that fill the air with notes of cinnamon, pumpkin, and crisp apples. The taste of pumpkin everything..yes I’m that girl, and sipping on hot cocoa in the cold crisp air. Also, can we talk about fall fashion because I mean big chunky sweaters, leggings, flannels..could it get any comfier?!? There are so many options to create frugal, and simple Fall DIYs that make your home look amazing without spending too much. I love adventuring around the Dollar Tree trying to find items that can easily be transformed into something spectacular for your home. On my latest trip to the magical Dollar Tree, I purchased carveable pumpkins as well as two metal pizza pans. With both of these I brainstormed how to create cute Fall Decor by spending a few dollars and in the end I created a centerpiece that you can use all year, and the cutest pumpkins that you can customize to fit your style. Below you will find instructions on how to make a Dollar Tree Centerpiece as well as Fabric Dollar Tree Pumpkins.
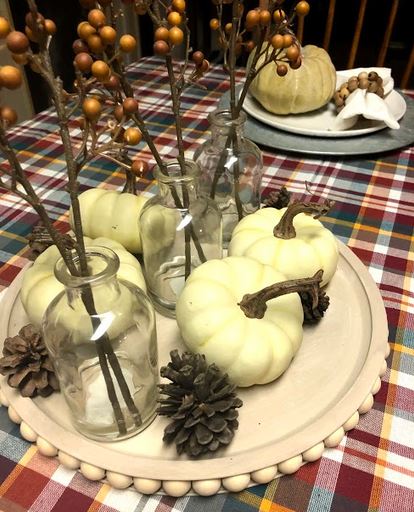
Dollar Tree Centerpiece 
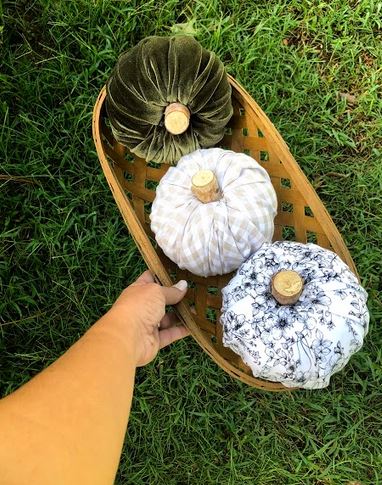
Fabric Pumpkins

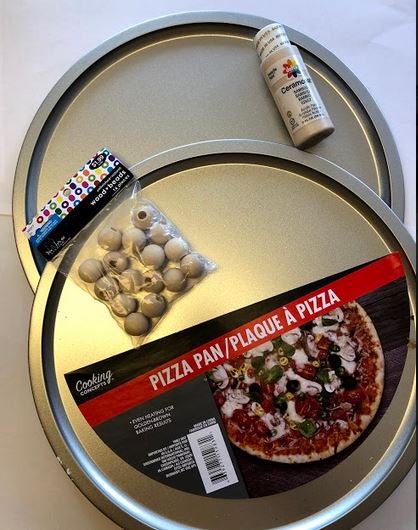
What you need :
- Two Dollar Tree Metal Pizza Pans
- 4 pack 20mm Unfinished Wooden Beads (16 pk from Hobby Lobby)
- Paint of your choice
- Glue (I used E6000)
- Clear Sealant
Steps
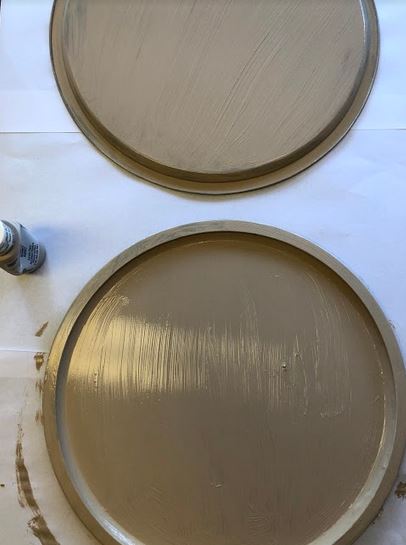
Painting 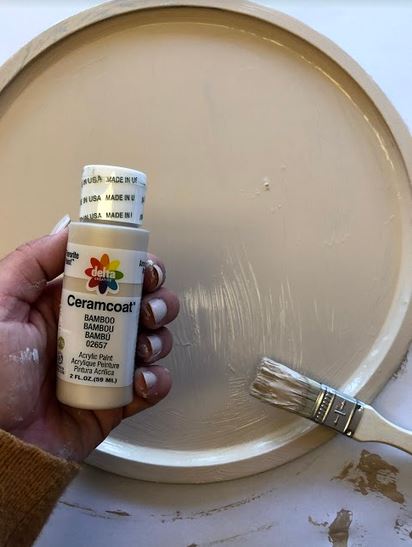
Step 1
- Paint your pans | You can spray paint them, or paint them with acrylic paint you have laying around the house. I painted two layers to get a good cover. OPTIONAL| I used white and brown paint on a dry brush(dab off any excess so there is barely any) to create a wood like effect.
- Spray Clear spray to seal your paint so it doesn’t chip later.
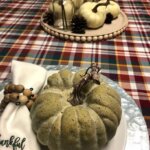
Finished Product 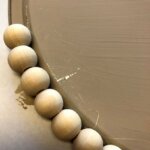
Step 3
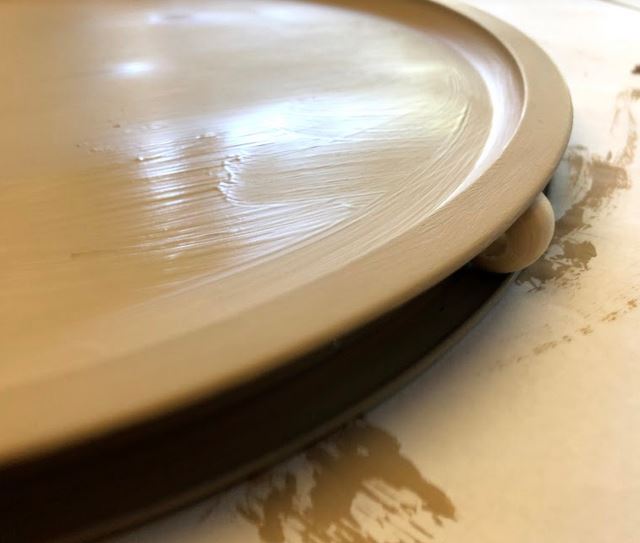
3. Once Dry, flip one pan upside down and begin gluing beads on the rim. Put glue on the inside edge to make sure your beads are secured well. Also, pay attention to where the holes are facing, try your best to hide them with the next bead.
Step 4 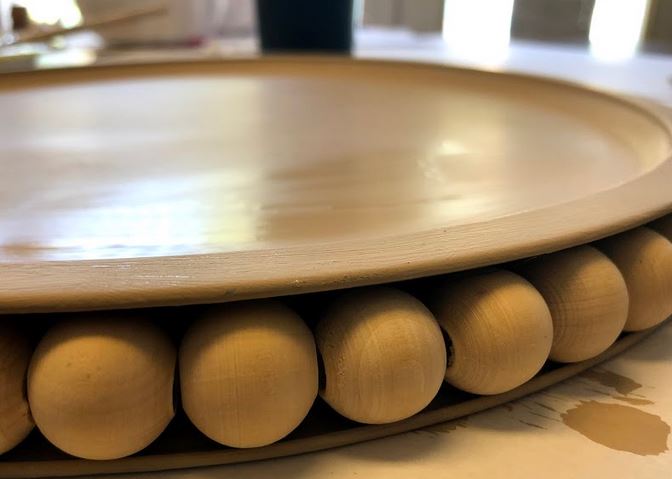
Glue Pans together
4.After your beads are glued, Glue the bottoms of your pans together, this should create a ledge that your beads will fit perfectly in! I used E6000 and put weight on the top after and let it sit.
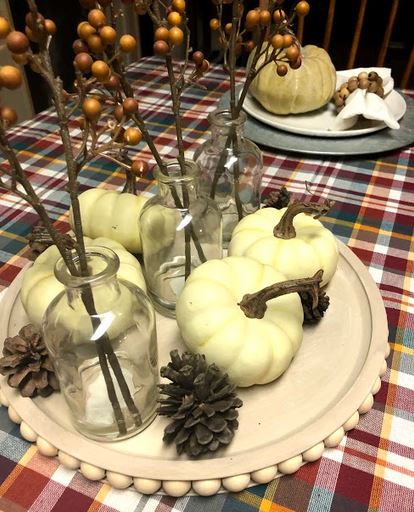
TaDa, easy peasy lemon squeezy! You now have a centerpiece that you can use all year round!
OPTIONAL | A couple of other ideas for this cute centerpiece is to add a swivel on the bottom to create a lazy Susan, add vinyl lettering of your family name, or glue a candlestick on the bottom to make a raised stand.

What you need :
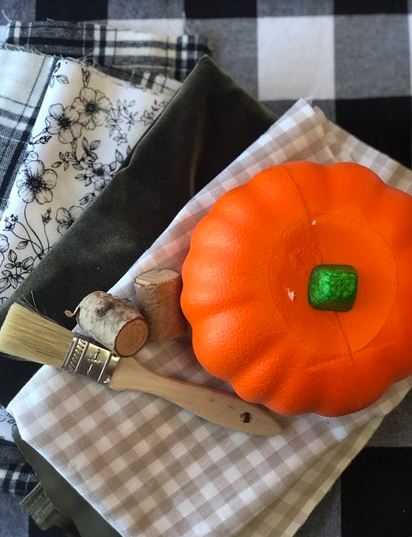
- Dollar Tree Carveable Pumpkins(Styrofoam)
- Paint (Only if your fabric is easy to see thru, if its dark fabric the orange won’t show)
- Hot Glue
- 16″x18″ squares of Fabric | Don’t limit yourself to fabric from the craft store, grab an old flannel that you don’t wear anymore, flat sheet in a fun pattern, and think outside the box of where you can get fabric!
- Dollar Tree Wood Stems | These beauts are about the shape of a cork, but are located in the floral section.
Steps
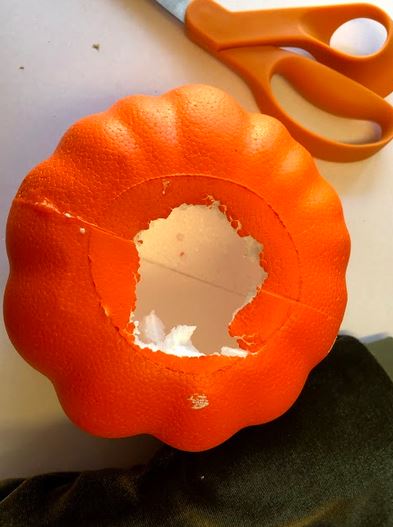
Step 1 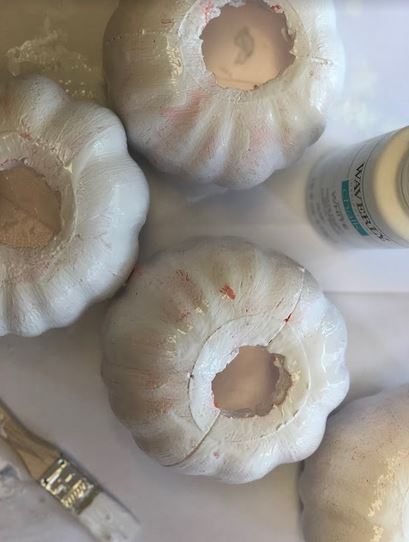
Optional Step 2
- Cut the stem out of your pumpkins | You can do this simply with a butter knife. It does not have to be perfect, all you want is a hole to be able to put your fabric into.
- OPTIONAL | Paint your pumpkin if your fabric is more transparent that the orange would show through. If you have thicker fabric like velvet or flannel, you can keep the pumpkins orange.
- Cut your 16″x18″ fabric | Whatever fabric you choose, cut them to 16″by18″ inch squares and set aside.
- Place pumpkin in center of square and begin by putting hot glue on the edge of where you cut and tuck in a little fabric in the hole you made at a time. It helps to fold up the fabric at the top in the pattern you like and pull it taut as you glue and tuck.
- After tucking all the fabric make sure you have some fabric in the hole to glue your stem on, pull some fabric up if you need to to make it not look empty.
- Grab your wood stem and hot glue it in the center.
- OPTIONAL | Add raffia or ribbon and create a bow or something to replicate a vine. Another option, once you cut the top off and wrap the fabric, you can glue two pumpkins together to create a tower and then add a stem only to the top one.
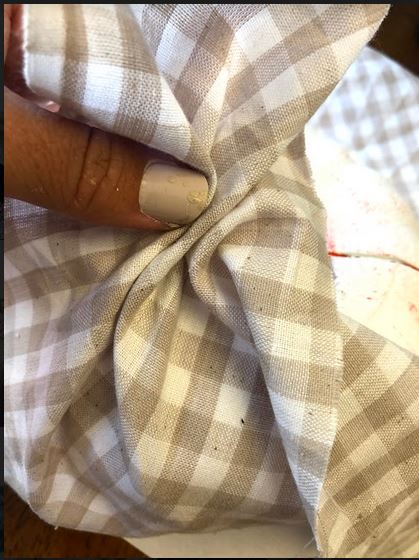
Step 4 Bunch fabric 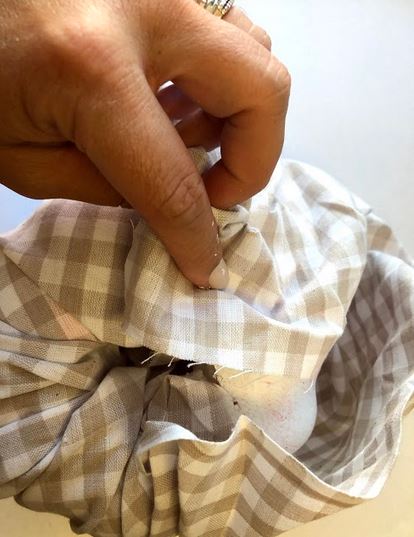
Step 4 Tuck & Glue
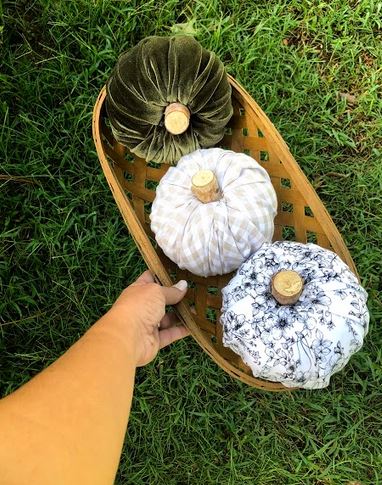
I hope you have the most amazing time crafting for the best season of all. Take a trip to your local Dollar Tree and create some unique pumpkins and centerpiece that will be an eye catching piece of decor this fall!
Happy crafting friends.
To uncover more about Unravelled Thyme including travel guides, RV tips, and our Full Time RVing story, click here.
With Joy,
Paige
